 10,000+ reviews
 Europe's online specialist for lamps
 Return within 30 days
Checkout using your account
Checkout as a new customer
Creating an account has many benefits:
- See order and shipping status
- Track order history
- Check out faster
Wiring a light to switch gear
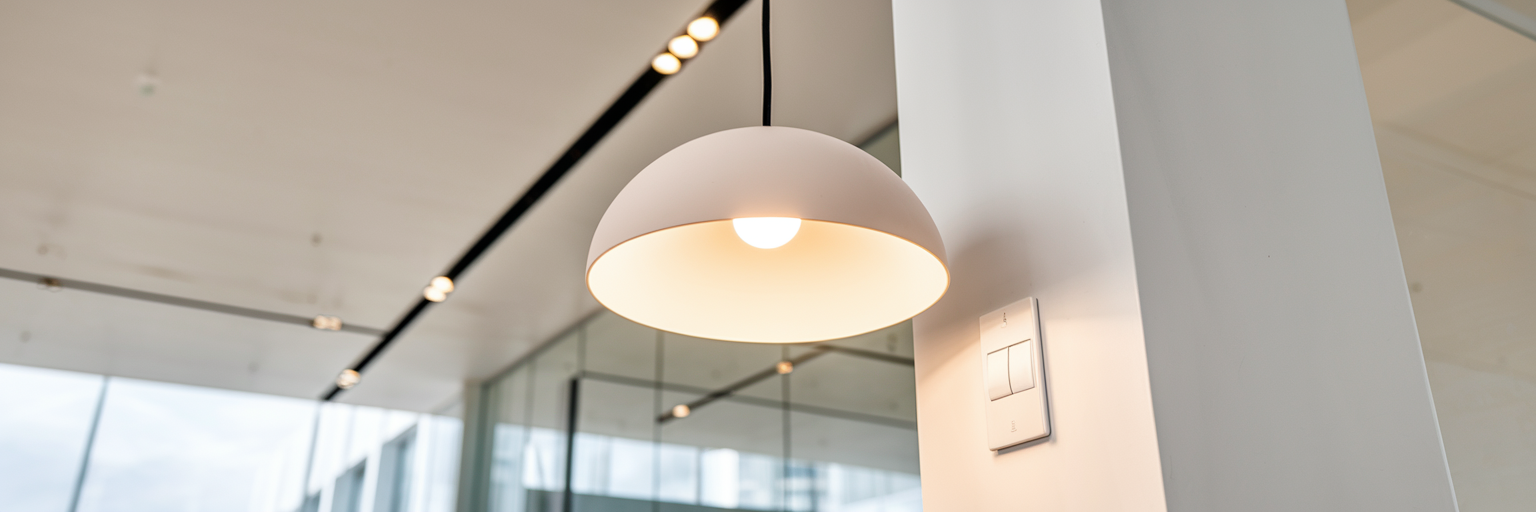
Connecting a lamp to wall switch gear is a straightforward DIY task if you prepare well. In this guide, we’ll walk you through safe wiring for a standard single-pole switch (and alternatives), so your light operates neatly from the wall.
Tools you’ll need
Before you start, gather your tools so the job goes smoothly.
- Voltage tester
- Wire stripper / side cutters
- Screwdriver (flat & Phillips)
- Suitable terminal blocks / lever connectors (e.g., WAGO)
- Screws and wall plugs (for junction/surface boxes if needed)
- Optional: Drill with hammer function, pencil for marking
Safety first
Always switch off the power at the consumer unit (fuse box) and verify the circuit is dead with a voltage tester before touching any wires.
Step-by-step installation guide
1. Switch off the power
Turn off the power to the lighting circuit. Test the supply and switch wires with a voltage tester—only proceed when there is no voltage.
2. Prepare the mounting points
If needed, fit a junction box at the ceiling rose or installation point. Ensure the lamp’s mounting bracket or canopy will cover all connections.
3. Identify the conductors
Typical colours (verify locally):
- Brown = Live (L)
- Blue = Neutral (N)
- Green/Yellow = Earth / Protective ground (PE)
- Black (or marked brown) = Switched live from the wall switch
4. Wire the wall switch (single-pole)
At the switch box:
- Connect the incoming live (brown) to the switch’s COM/L terminal.
- Connect the switched live (black) to the switch’s OUT/⟶ terminal (to the lamp).
- Join earths together and to the switch earth terminal if the switch plate is metal. Neutral does not connect to a basic switch—join neutrals together with a connector in the box if present.
5. Connect the lamp at the ceiling point
At the lamp/junction box:
- Connect switched live (black) to the lamp’s L terminal.
- Connect neutral (blue) to the lamp’s N terminal.
- Connect earth (green/yellow) to the lamp’s earth terminal (Class I fixtures).
Ensure all terminals are tight and no bare copper is exposed.
6. Secure the fixture
Mount the lamp bracket or canopy firmly. Support the fixture while tightening screws so no strain is placed on the conductors.
7. Restore power & test
Switch power back on at the fuse box. Operate the wall switch to confirm the lamp turns on and off correctly.
Variations & tips
Two-way (stair) switching: Requires a two-way switch at each location and a 3-core+earth cable between them. Follow the manufacturer’s diagram for L, L1, L2 terminals.
Dimmer switches: Use a dimmer compatible with your bulb type (trailing-edge for most LEDs). Wire it in place of the single-pole switch (L in, switched L out).
Smart switches/modules: Many require neutral at the switch; check wiring diagrams and load limits.
Ceiling rose loop-in: Keep permanent lives looped together; only the switched live goes to the lamp’s L.
Troubleshooting
- Lamp always on: Live and switched live may be joined—separate and wire correctly via the switch.
- Lamp flickers on dimmer: Use dimmable bulbs and a compatible LED dimmer; reduce load or add a bypass if specified.
- Breaker trips: Check earth/neutral shorts and terminal tightness.
When to call a professional
If your installation lacks an earth, uses non-standard colours, or you’re unsure about local regulations, consult a qualified electrician.