 10,000+ reviews
 Europe's online specialist for lamps
 Return within 30 days
Checkout using your account
Checkout as a new customer
Creating an account has many benefits:
- See order and shipping status
- Track order history
- Check out faster
Outdoor wall light installation
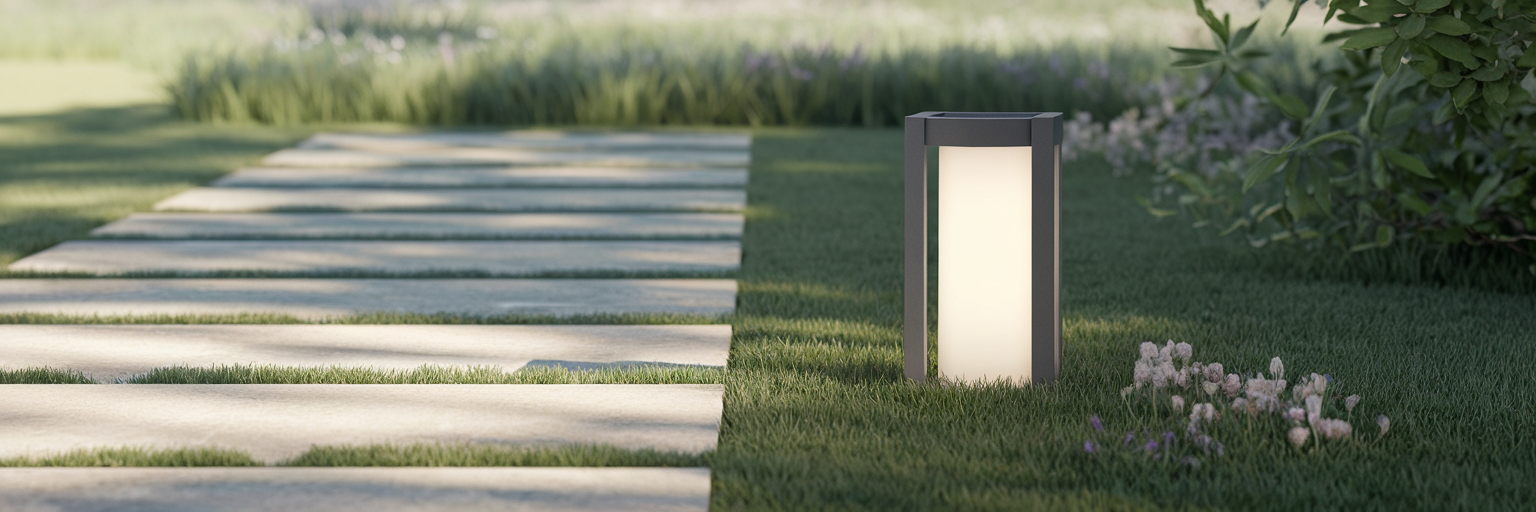
Creating a clean, modern garden with the right outdoor lighting is a goal for many. Before you start, draw a simple plan of your garden and mark where each light should go. This gives you a clear overview of where ground/outdoor cables are needed. Below, we list the essentials and explain two ways to connect outdoor lights.
Tools you’ll need
Before you start, it’s smart to gather your tools. You may not need everything for your setup, but having it ready makes the work easier. Read the full guide first to see if your situation requires any extra equipment.
- Voltage tester
- Wire stripper / side cutters
- Screwdriver
- Screws and wall plugs (for fixtures and junction boxes)
- Outdoor-rated junction/connection boxes (IP68 recommended)
- Ground/installation cable (e.g., YMVK-as or 12V low-voltage cable)
- Cable ties / clips
- Optional: drill with hammer function
- Pencil for marking
Two ways to connect outdoor lighting
1) Daisy-chain with connectors / 3-way coupling
You can daisy-chain fixtures using a 3-way connector. The incoming mains cable enters the connector; the second output goes to the light you want to connect there; the third output continues to the next light. You can also do this with separate lever connectors (WAGO-style). To protect loose connectors outdoors, place them inside an extra waterproof enclosure.
2) Connect all lights from one central point
If you have a single feed point but want multiple outdoor lights, connect all fixtures at one central junction. Use a 3-, 4-, 5-, 6-, 7- or 8-way coupling depending on how many lights you’ll connect. From the central box, run one cable branch to each light. Note: if one light/branch fails, the other lights on the same central connection may also be affected depending on the wiring method.
Installing outdoor lights & laying garden cabling
Discover how to install outdoor lights yourself and transform your outdoor space into a cosy, well-lit oasis. With these tips and instructions, installing outdoor lighting becomes straightforward.
Step 1: Planning & preparation
Careful planning is essential. Measure the areas where you want lights and make a detailed lighting plan. Start with functional lighting (e.g., pathway lights), then add ambience (e.g., terrace lighting).
Also mark the power source and cable routes. Decide whether to route cables above ground or underground. For underground connections, use an outdoor junction box at each light. Run cables close to walls or fences to minimise digging. Bury ground cables at approx. 60 cm depth.
Step 2: Choose the right locations
Choose strategic positions based on the purpose of each fixture. Think wall lights at the front door, ground spots along the path, and ambient lighting around the terrace.
Step 3: Decide on the power system
Choose between 230V or 12V low voltage. For safety, use proper outdoor-rated ground cable and protect all connections against weather (IP44 minimum, preferably IP65/IP68 for buried joints).
Step 4: Connect the outdoor lights
Follow the manufacturer’s instructions and have the right tools ready. Always switch off the power before installation.
Connect the main supply either from indoors (via the main feed) or via a weatherproof outdoor socket feeding your garden circuit. Route the supply to the lights via a waterproof ground junction box.
Preparing the cables
Cut the ground cable at the point where the junction box will be. Remove about 10 cm of the outer sheath with a cable knife, strip the inner conductors with a wire stripper, and strip the last 1 cm of insulation from each conductor.
Making the connections
Place connectors on each conductor end and connect same-colour to same-colour. Then connect the fixture to the ground cable according to the manufacturer’s diagram. Make sure all connections are tight and the enclosure is sealed.
Safety & best practices
- Use outdoor-rated components (IP rating suitable for location).
- Keep junctions accessible; avoid burying non-serviceable connections.
- Add a timer, dusk sensor, or smart plug for automatic on/off.
- If in doubt about 230V work, hire a qualified electrician.
Quick examples
- Wall lights (front door): Functional + welcoming light.
- Path lights/ground spots: Safety and guidance along walkways.
- Terrace ambience: Softer, warm-white lighting for a cosy feel.