 10,000+ reviews
 Europe's online specialist for lamps
 Return within 30 days
Checkout using your account
Checkout as a new customer
Creating an account has many benefits:
- See order and shipping status
- Track order history
- Check out faster
Installing LED tube lights
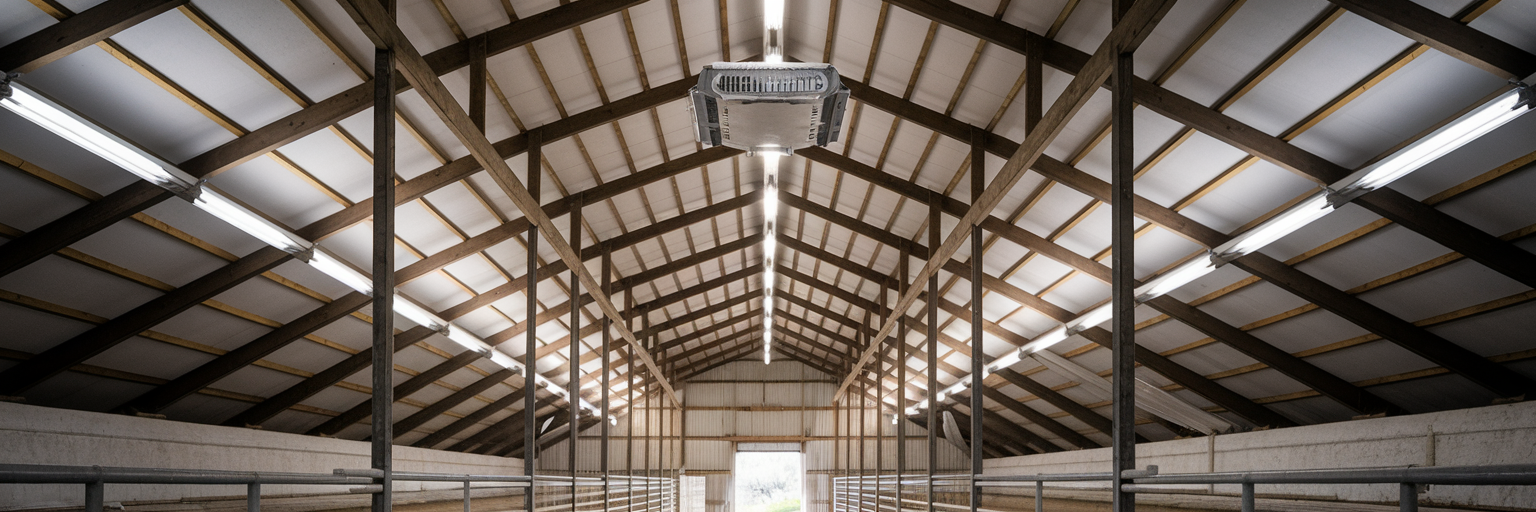
Switching to LED tubes (LED TL) saves energy and reduces maintenance. Below we explain the three common wiring methods—starter replacement, HF ballast compatibility, and direct-wire/bypass—so you can safely install your LED tubes in minutes.
Tools you’ll need
Before you start, gather your tools. You may not need them all for every method.
- Voltage tester
- Wire stripper
- Screwdriver
- Screws and wall plugs (for new battens, if needed)
- Optional: Drill with hammer function
- Power screwdriver
- Pencil for marking
Step-by-step installation guide
1. Switch off the power
Turn off the power to the lighting circuit and verify with a voltage tester that the fixture is not live.
2. Identify your fixture type
Open the luminaire and check what’s inside:
- Magnetic ballast + fluorescent starter (EM).
- Electronic (HF) ballast (no starter, slimmer control gear).
- No gear / direct-wire LED batten (for new LED-only fixtures).
Also check your LED tube’s datasheet for supported wiring: EM (starter), HF compatible, or Direct-wire (single- or double-ended).
3A. Magnetic ballast (EM) — Starter replacement (quickest)
1) Remove the old fluorescent tube.
2) Replace the fluorescent starter with the supplied LED starter (a fuse-like dummy).
3) Insert the LED tube, aligning the powered end(s) per the marking.
4) Restore power and test.
Note: This keeps the magnetic ballast in-circuit. It’s the simplest retrofit but leaves a small ballast loss.
3B. Electronic ballast (HF) — Use HF-compatible LED tube
1) Confirm your LED tube is HF compatible with your ballast model (see datasheet).
2) Remove the old tube and insert the HF-compatible LED tube.
3) Restore power and test.
If it flickers or won’t start: your ballast may be unsupported; use method 3C (direct-wire).
3C. Direct-wire / Bypass ballast (highest efficiency)
Important: Only if your LED tube supports direct wiring. Follow the tube’s diagram (single-ended or double-ended).
1) Isolate power, open the gear tray, and disconnect/remove the old ballast and starter.
2) Single-ended feed: Connect L and N to the lampholder at the marked end of the tube. The opposite end is unpowered (lampholder kept for support only).
3) Double-ended feed: Connect L to one end’s lampholder and N to the opposite end’s lampholder.
4) Secure all connections, fit the LED tube, close the luminaire, restore power, and test.
4. Secure the fixture
Ensure the cover and reflectors are properly refitted. If installing a new LED batten, mount it with appropriate plugs/screws and follow the manufacturer’s wiring block (L, N, and PE/earth when applicable).
5. Test and label
Switch power back on and verify full, flicker-free light. Add a small label inside the luminaire indicating the new wiring (e.g., “Ballast removed – LED tube only”).
Height & placement tips (work areas)
For worktops or desks, mount battens to achieve even illumination and avoid glare. Keep clear of sprinkler heads and ceiling obstructions. Use diffusers where comfort is critical.
Tip: If unsure about ballast type or local wiring rules, consult a qualified electrician. Always follow the LED tube’s specific wiring diagram—methods vary by brand and model.