 10,000+ reviews
 Europe's online specialist for lamps
 Return within 30 days
Checkout using your account
Checkout as a new customer
Creating an account has many benefits:
- See order and shipping status
- Track order history
- Check out faster
How to install LED panels
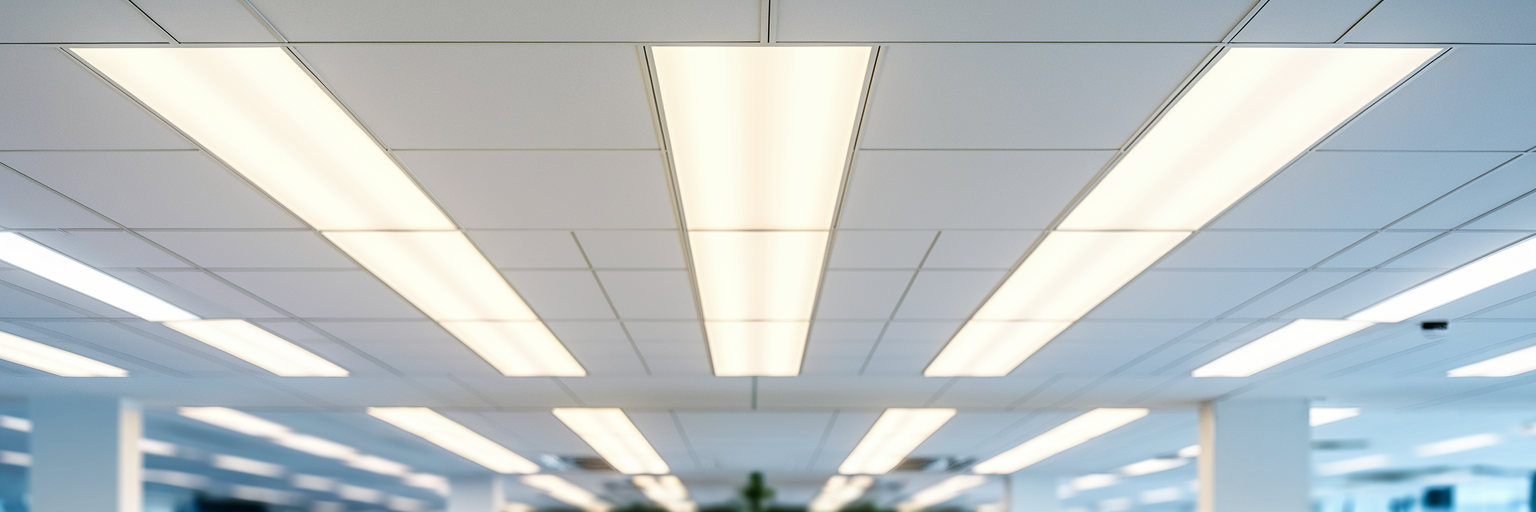
In this guide, we explain how to install an LED panel. Below you’ll find a short instruction video showing how to connect a panel to power. Already know how to wire it? Jump straight to one of the three mounting methods:
- Suspended ceiling LED panel
- Surface-mounted LED panel
- LED panel with suspension kit
Tools you’ll need
Before you start, gather your essentials so the installation goes smoothly. In many cases you won’t need much, but having everything ready helps.
- Voltage tester
- Wire stripper
- Screwdriver
- Screws and wall plugs (often included)
- Optional: Drill with hammer function
- Power screwdriver
- Pencil for marking
LED panel in a suspended ceiling
LED panels were originally designed for grid/suspended ceilings. Their dimensions match standard ceiling tiles, so they fit seamlessly. Below is what you need and the steps to complete a successful installation.
Steps
| Step | What to do |
|---|---|
| Step 1 | Switch off the power. |
| Step 2 | Connect the LED driver to a mains lead by joining the driver leads and the mains lead using WAGO connectors or a terminal block (choc block). |
| Step 3 | Plug the mains lead into a socket (or connect to a switched spur, per local regulations). |
| Step 4 | Plug the driver into the LED panel. Tighten the locking ring and align the arrows. |
| Step 5 | Place the panel into the suspended ceiling grid. |
| Step 6 | Switch the power back on. |
Surface-mounted LED panel (as a ceiling light)
A surface-mount kit is a frame that houses the LED panel. The advantage is that you can mount it on flat surfaces—on a ceiling or even on a wall.
Steps
| Step | What to do |
|---|---|
| Step 1 | Fix two opposite frame sides to the ceiling. |
| Step 2 | Attach one of the remaining sides. Leave the last side open so you can slide in the panel. |
| Step 3 | Slide the LED panel into the frame and make the driver connection. |
| Step 4 | Close the frame with the final side. |
| Step 5 | Mount the assembled unit to the ceiling (or wall). |
LED panel with suspension kit (pendant)
Suspending a panel lets you set the height to taste. The cable length is easy to adjust and gives a clean, modern look.
Steps
| Step | What to do |
|---|---|
| Step 1 | Adjust each cable to the desired height by loosening the set screw on the small tube, pulling the cable to length, then tightening the screw. You’ll have four cables. |
| Step 2 | Screw the four triangular hangers to the back of the panel. Ensure the top and bottom pairs face each other and sit close to the panel edges. |
| Step 3 | Attach the suspension cables to the panel’s hangers. |
| Step 4 | Trim any loose, unused side tail from the centre tube so no spare cable dangles. |
| Step 5 | Drill and fix the ceiling anchors/screws. Use the supplied round ceiling tubes/anchors. |
| Step 6 | Secure the suspension cables to the ceiling screws/anchors and make the driver connection. |
LED panel colour temperatures
We offer many LED panel variants in different colour temperatures:
- 3000K warm white: cosy, inviting light—great for waiting areas and restaurants.
- 4000K neutral white: bright, activating light—ideal for workplaces like offices and classrooms.
- 6000K cool white: crisp, high-visibility light—used where clarity is key, such as clinics and hospitals.
Safety notes
- Always isolate power and verify with a voltage tester before wiring.
- Use correct connectors (WAGO/terminal block) and follow the driver/panel polarity/locking instructions.
- Support the panel securely during installation; don’t let it hang from the driver cable.
- Follow local electrical regulations; if in doubt, consult a qualified electrician.